
Did you know that all you need is light and a clean wall for studio-quality portraits? We did! Watch the video below to see how you can shoot great portraits from anywhere.
For this Location Hacking episode, Joshua points out a few things that make all the difference when working with window lighting.
Window Lighting 101
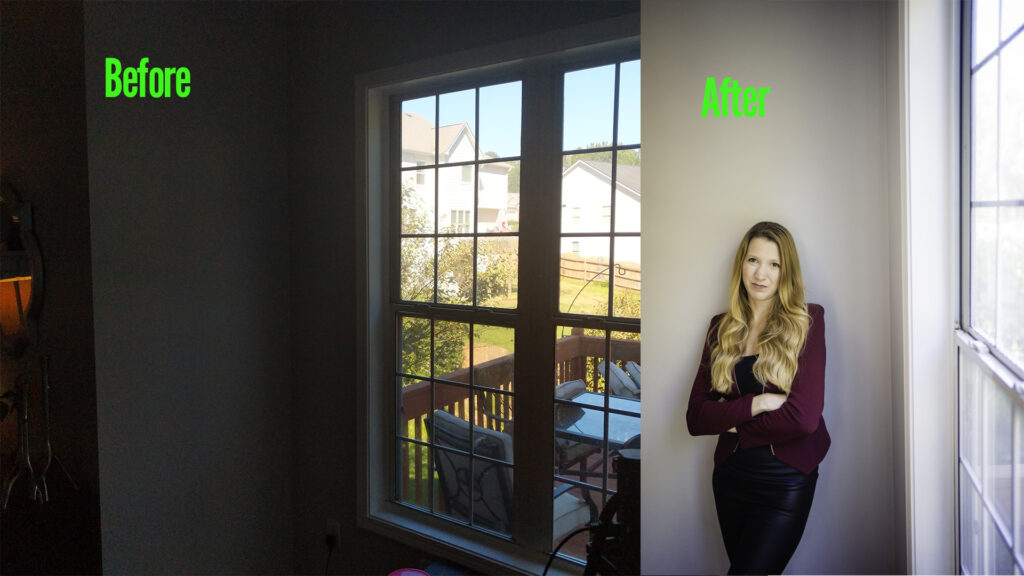
The first order of business is making sure that the lighting is just right, not too much but not too little. If you’re using a window to light up your photographs, you want to be sure that the light coming in isn’t too harsh. The sun shining through should create light that appropriately falls on your subject and be just enough to provide a soft light for your setup.
The In-Between vs. The Background
The easiest thing about using windows for lighting is that you most likely already have a background set up nearby, a.k.a. the wall! Try having your subject stand in between the window and the wall, and don’t be afraid to play around with the shooting approach a little bit. You can even experiment with the distance of your subject between the window and make them get closer to the window for more obvious light, or back up toward the wall for a softer effect.
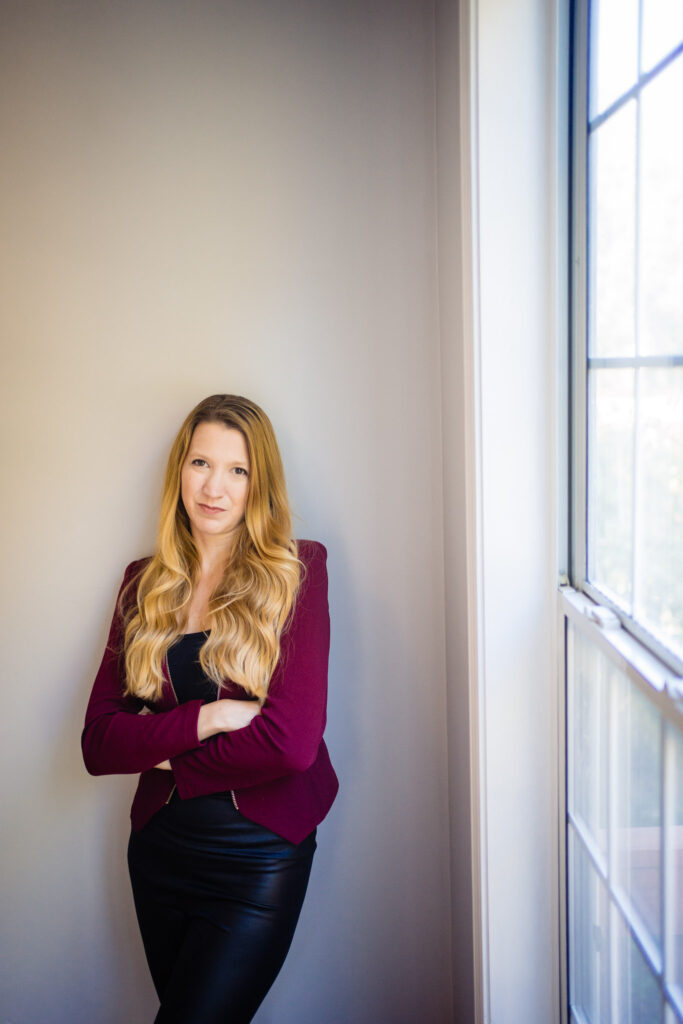
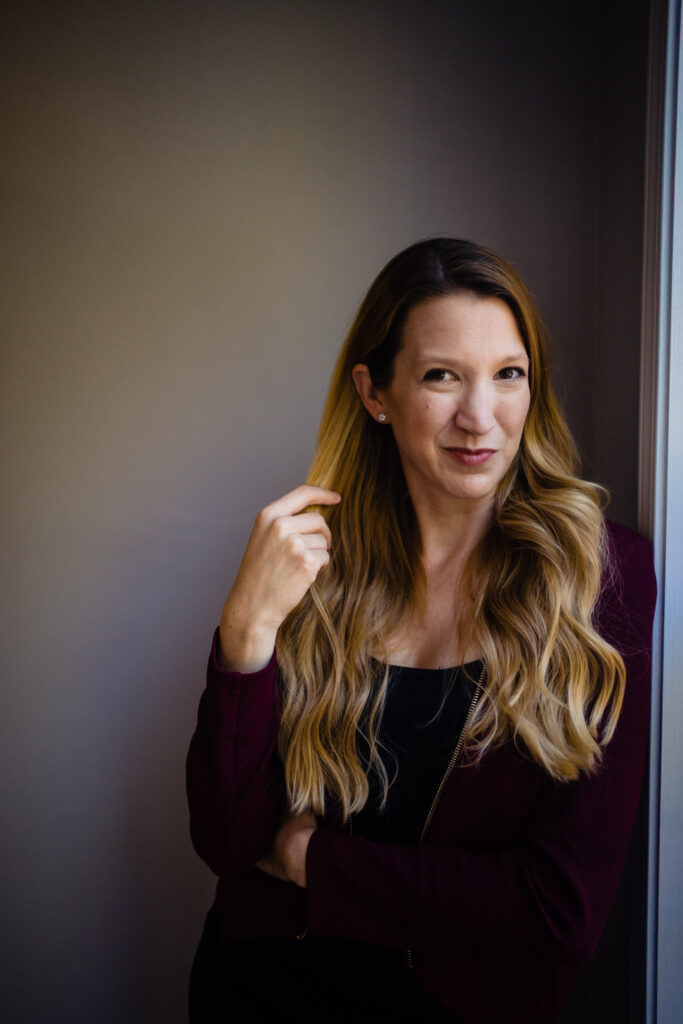
35mm Shot
As we saw in the video, Joshua works the frame using a 35mm lens. This lens makes the shot wider, incorporates the window, and almost captures the full body of the subject. When you get a wide shot like this, you can have your subject get closer or farther away from the window but it really just depends if you want to include any part of the window itself.
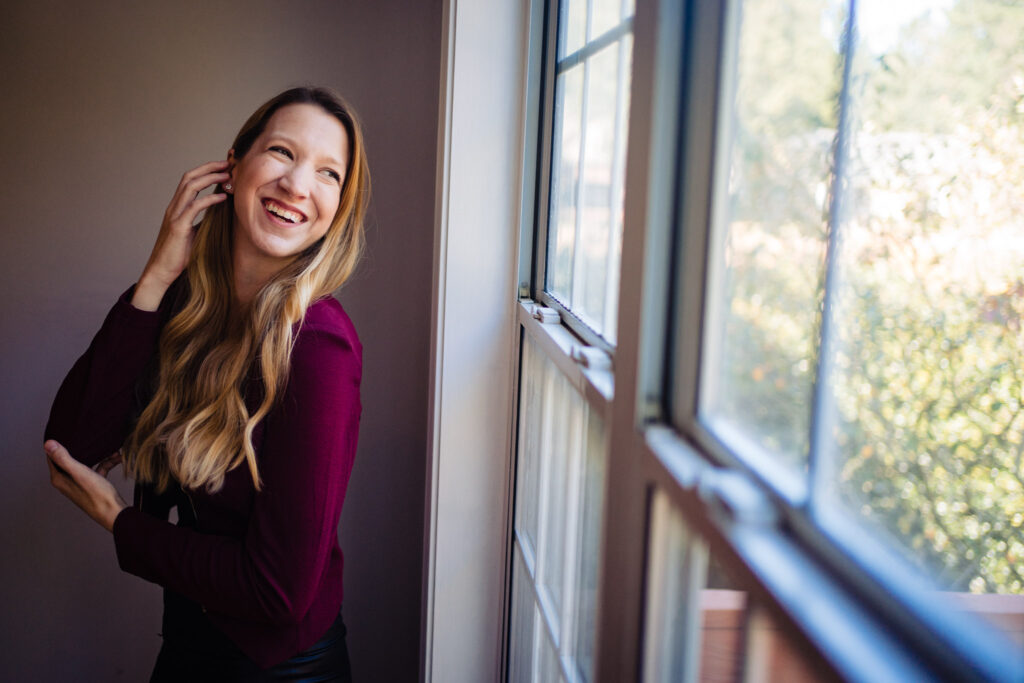
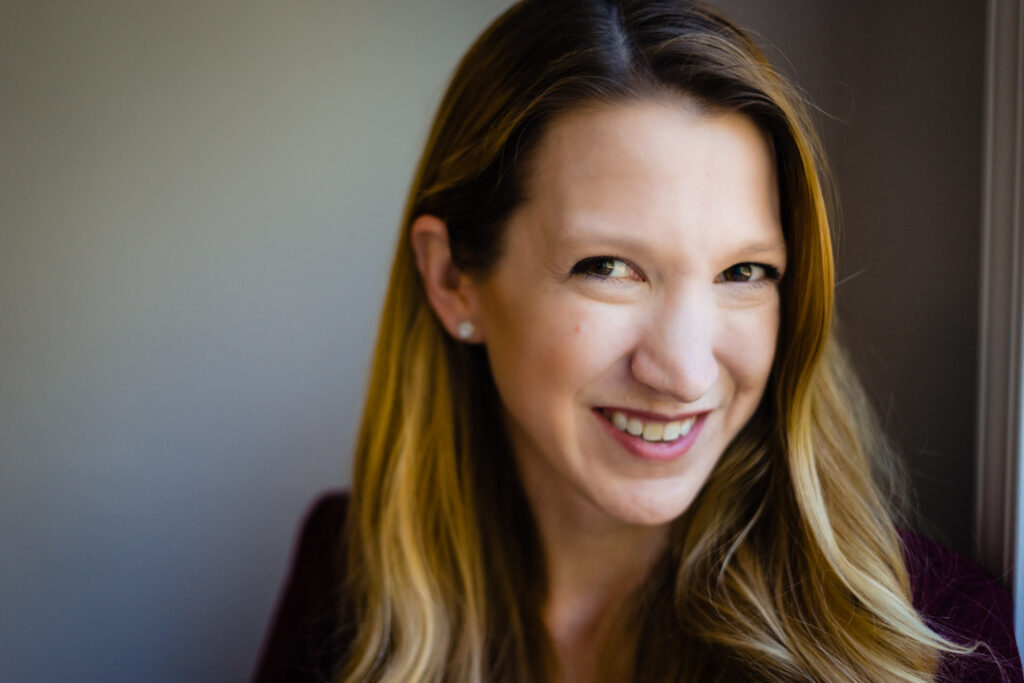
50mm Shot
When using a 50mm lens, the viewpoint changes a bit. Now, we go from a wider, more inclusive shot to a closer portrait angle. You’ll notice that with a 50mm lens, there’s a sharper falloff and high contrast surrounding the subject. With this falloff effect, the background will likely just be one shade darker and the subject’s features, apart from their face, will go out of focus.
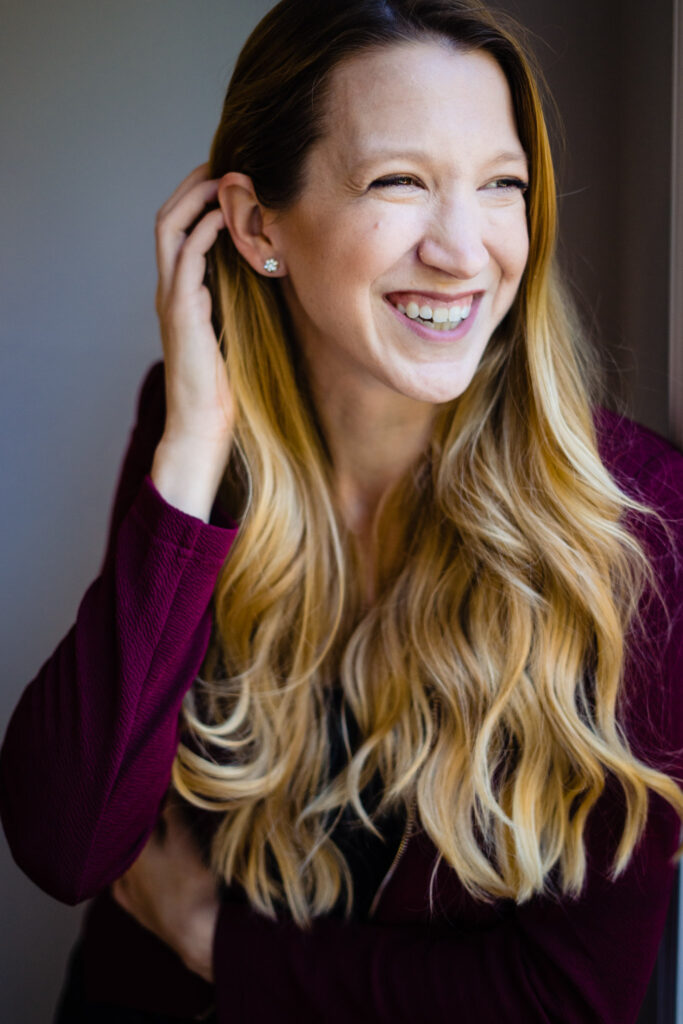
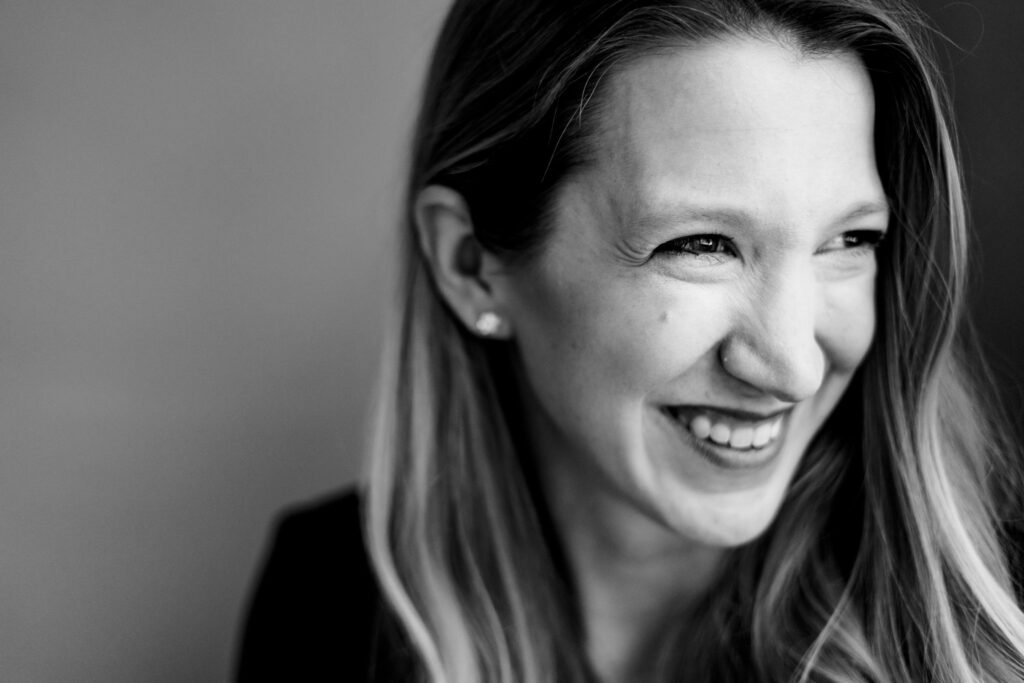
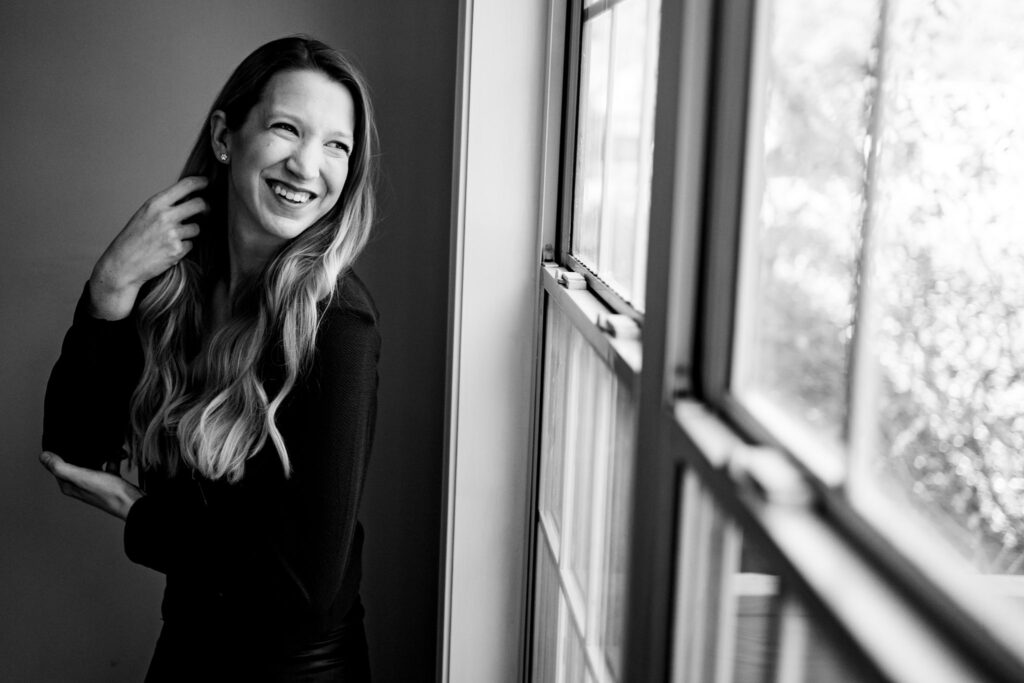
85mm Shot
You can get a close, cropped effect by using an 85mm lens. This will create a tight portrait angle that is almost equivalent to a headshot. Below you’ll see the difference between a photo that Joshua took using just the 85mm lens and a photo he stitched together using the same lens. Stitching photos together creates a smooth, blurry effect where the depth of field is more exaggerated. Be on the lookout for an instructional video from The Shutter School about stitching shots together in the future.
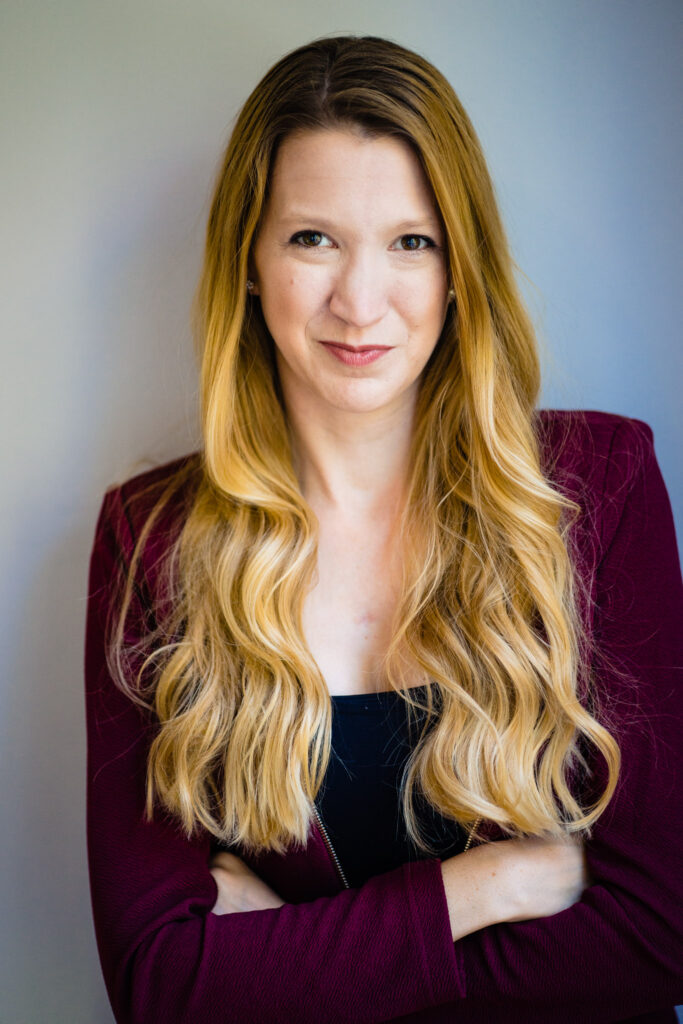
85mm lens 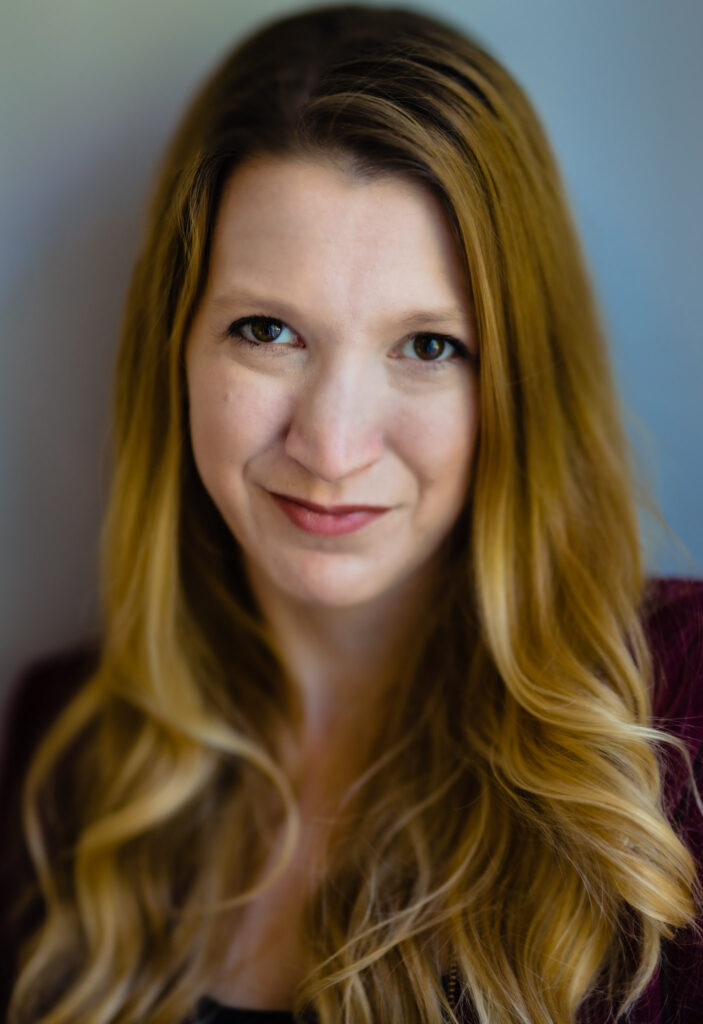
Stitched photo
Window Lighting in Your Photography
After this location hacking episode you should have learned how you can take quality portraits just by shooting near a window. There’s lots of room to experiment here, so go ahead and have fun! Be sure to try different lenses, angles, lighting, and poses so you can practice using window lighting yourself.
Check out the blog for more Shutter School content and subscribe to the YouTube channel!