Joshua shares some tips on how to practice taking self-portraits– with or without equipment– leaving you no excuse not to practice photography.
Practice Makes Perfect
The most effective way to perfect your photography skills is (yep, you guessed it) practice! There are tons of ways to practice photography, even without all the fancy tools. It’s time to make friends with your camera and tripod and get out there.
One of the best ways to practice photography at home is by taking self-portraits. Testing out self-portraits can be really useful to improve your photography technique and experiment with different frames and composition types.
On those days where you don’t have anyone to photograph, using what’s around you can actually be really beneficial to the photography learning process. This tip is for all of those lazy Sundays spent at home, when you want to try to capture something new, but you use a lack of subjects as an excuse to procrastinate. Well, that will no longer be the case, my friend.
Let’s Take Some Self-Portraits
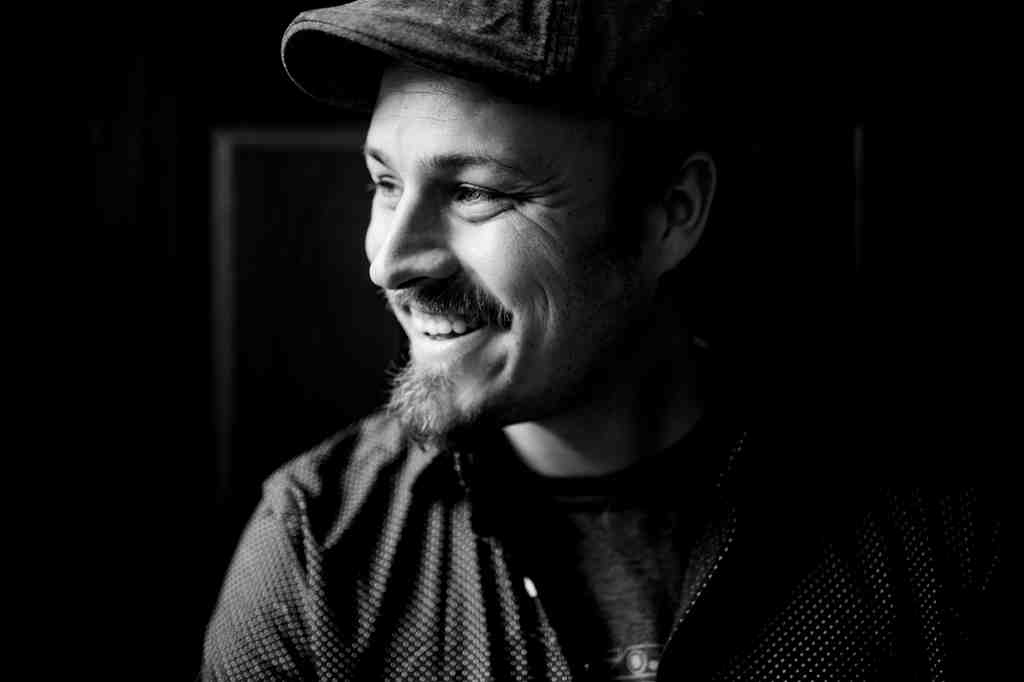
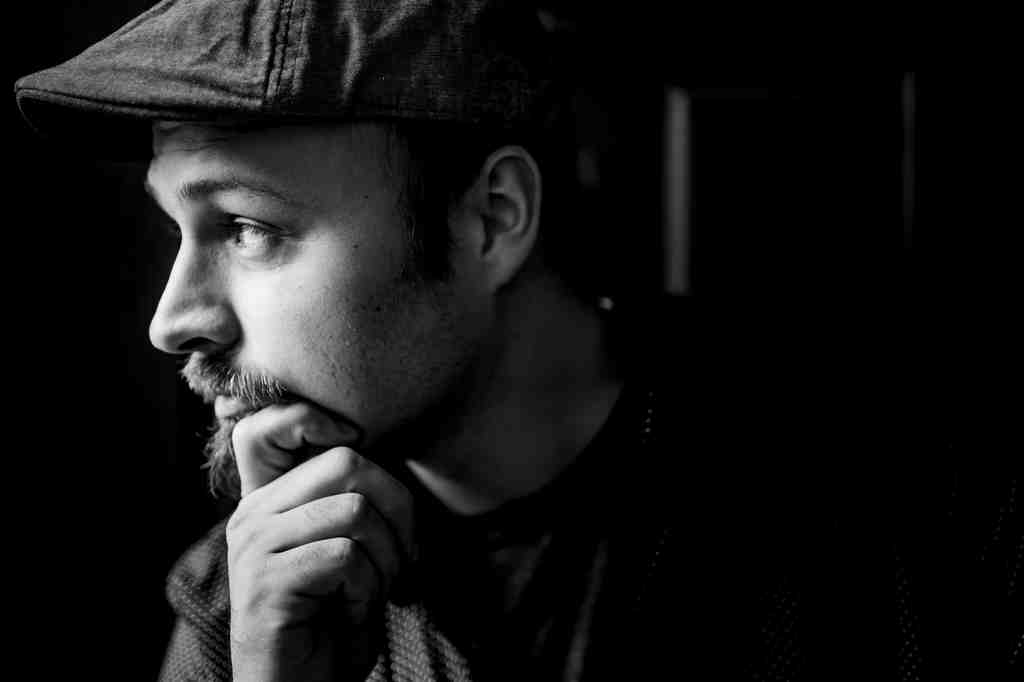
First, you’ll want to find a nice and simple background to stand against for your self-portrait. The front door is a good place to start (location hacking alert)! Now that there is natural light and a solid background, the next step is actually taking the portrait.
Here are some examples of Joshua’s self-portraits taken using these tips!
This is where the tricky part comes in. If you’re using a camera without a mirroring app or you’re shooting your composition on a phone, then you’ll want to find an object to focus on for your setup. Bring in some items like a stool and a stuffed animal, and get your camera focused on that subject.
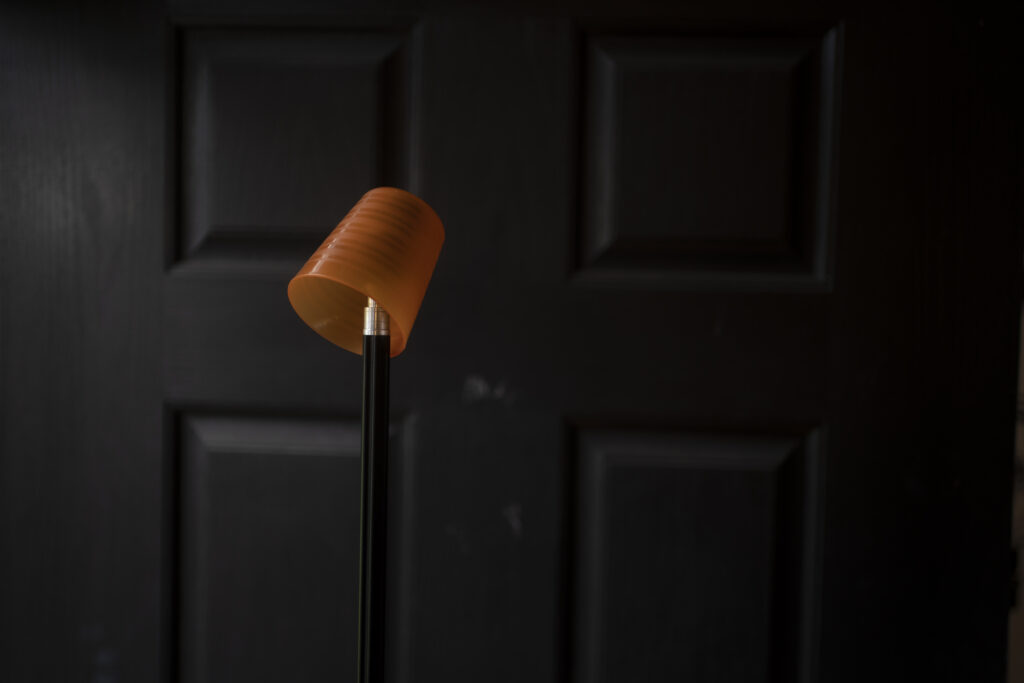
Now, some problems might arise in terms of height difference, but you can just adjust the focus on your camera as you go along to match your height in the portrait. If the height of your temporary subject becomes too much of an issue for your camera’s focus, you can try using something taller to match the focus closer to where you’ll be standing. Consider utilizing an object like a light stand.
An easy camera-focus hack for the light stand method would be to place a cup on top of the subject, so it’s almost mimicking the stance in which you’ll be taking once the self-timer goes off.

Tech Can Be Convenient
As much as we all love running to and from the camera to click the self-timer button, there is a product out there that would make this whole process way more convenient. There are plenty of remote receivers for sale, and with the click of a button, you can take photos right there on command. Even if you are standing in front of your camera and not behind it.
If you choose to use a self-timer in conjunction with your remote, the receiver will give you about two seconds to assume your position and take the photo. It also allows you to focus your frame by half-clicking the button!
If you have a DSLR camera, it’s likely that your camera has some phone-compatible capabilities. Some cameras are app accessible, so when taking portraits, you can see what the composition will look like before you click the capture button.
No More Excuses!
These hacks range in convenience level and availability because while some may have minimal photography tools at their disposal, others might have all of the equipment and tech tools necessary to take self-portraits. Either way, it’s time to go on and practice your self-portraits, whether that involves a stuffed animal or not.
If you enjoy photography advice and want to see more location hacking tips, visit the YouTube channel or click here to read more content from the blog.


